Zendesk Support
Adding Zendesk Support as data source
-
From the left navigation panel, click Lakehouse and then click Data Sources.
-
From the upper right corner of the page, click the + New Data Source button to start the process of adding a new database.
-
In the New Data Source page, click the Zendesk Support icon.
-
Specify the following details to add Zendesk Support. Once you have connected a data source, the system immediately fetches its schema. After this schema retrieval process is complete you can browse and interact with the tables and data.
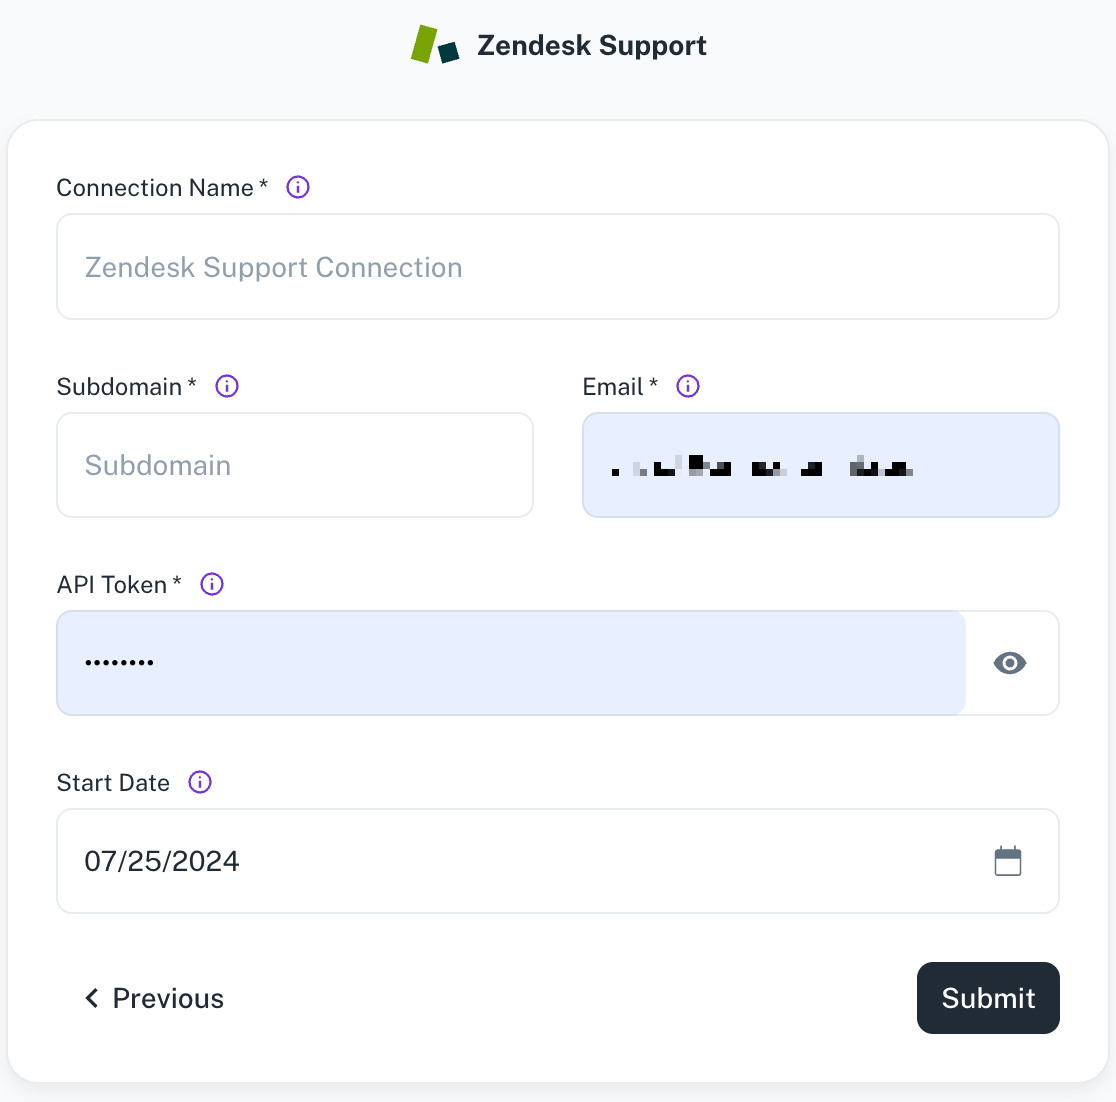
Field Description Connection Name Enter a unique name for the connection. The name must be at least 6 characters, may include letters, numbers, and underscores only, and cannot start with an underscore. Subdomain Enter your unique Zendesk subdomain, found in your account URL. For example, in https://MY_SUBDOMAIN.zendesk.com/, the subdomain is MY_SUBDOMAIN. Email Specify the email address associated with your Zendesk user account. API Token Specify the API token generated for your Zendesk account. Start Date Specify the date from which to begin replicating extracting data. Enter the date in MM/DD/YYYY format. DataGOL will replicate data updated on or after this date. If left blank, DataGOL will default to replicating data from the past year. -
Click Submit.
Supported sync modes
- Full Refresh | Overwrite
- Full Refresh | Append
- Incremental Sync | Append
- Incremental Sync | Deduped History
Was this helpful?