Email campaign
You can create email campaigns from Workbooks by selecting a view (master or filtered) and a recipient column (email or user). The view filters the recipients, sending the email only to a subset of members in the email or user column, rather than all of them.
The email content can be personalized using variables corresponding to columns in the selected view. Moreover, you can preview the email and also send a test email to the users in your workspace.
To create an email campaign do the following:
-
Go to Workspaces and select a workbook.
-
From the upper right side, click Actions and select Send Email Campaign.
-
In the Create Email Campaign box, do the following:
-
Select or create an email campaign: You can either select from the list of saved email campaigns or click Create New Campaign to create a new email campaign.
-
Provide a name for the campaign: If you have selected the Create Newe Campaign option, provide a name for the campaign. This will help you track the campaign and also identify the email campaign in the Actions Library.
-
Select receipients: In the Select Recipient box. You can choose either a user column or an email column as the recipient source.
[Note]Only a column type of Email or User will be listed in the Select Receipient drop-down menu. If a user column is selected and it contains multiple users in a single cell, each user will receive the email individually.
-
Select a view. This can be the master view or a filtered view.
-
In the Select Recipient box. You can choose either a user column or an email column as the recipient source. If a user column is selected and it contains multiple users in a single cell, each user will receive the email individually.
-
In the Draft Email box, you can create the email with the email subject and matter.
-
Click Preview button to get a quick preview of the email.
-
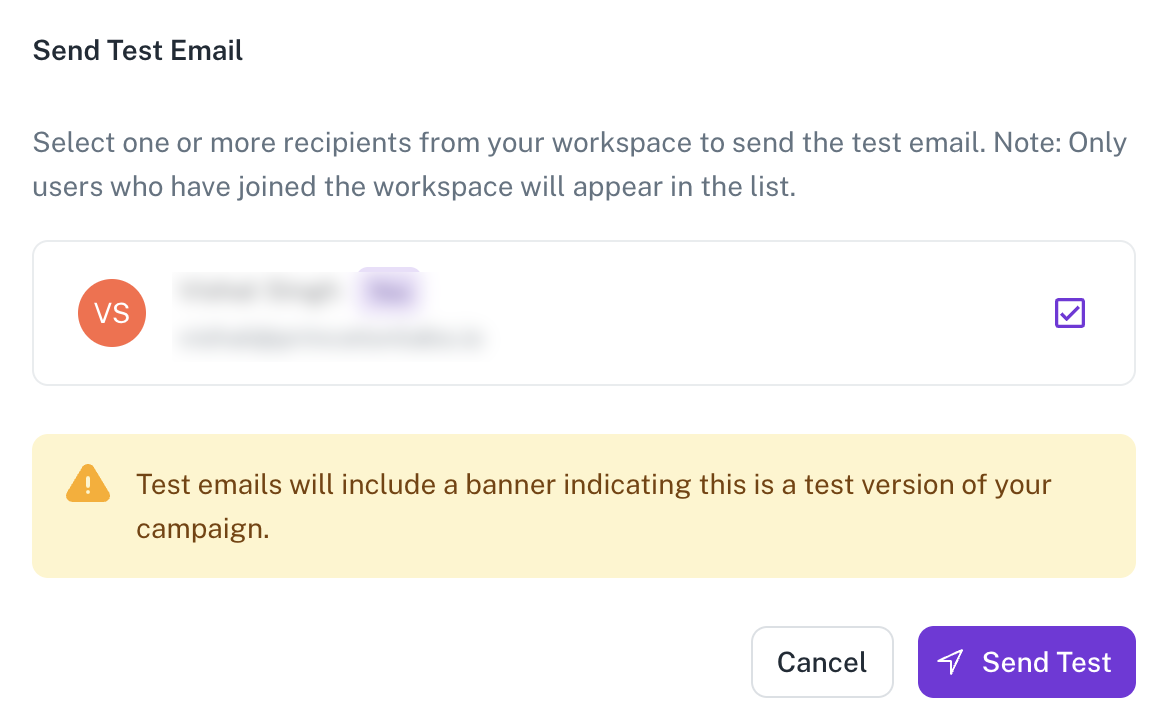
Click Send Test button to send a test email to yourself. DataGOL recommends sending a test email to yourself first. The test email will include a preview banner (attach image) to help you verify the content before sending it to others.
-
Click Continue to Compose.
- In the Create Email Campaign box, type the email subject and body.
You can dynamically include values from your workbook by referencing column names using the
column_namenotation. This ensures that personalized data from your workbook is seamlessly inserted into the email. You can also preview or send a test email. - Click Review Campaign to validate the details of the email. The Email preview page is displayed. From here too, you can click the button to send a test email to your email address.
- Select the I confirm I want to send this campaign option and then click Send Campaign. The emails are sent to the intended recipients.
-
- There's a limit of 250 emails that can be sent at a time.
- Certain column types such as attachments and link are currently excluded from variable selection.
- Currently, email templates are not supported, so each email must be composed individually. We are working on adding this enhancement in the future. Attachments and link/join columns are also not supported
- Emails are not tracked currently. We are working on adding email tracking to prevent duplicate sends in a future update.
Autosaving and reusing email campaigns
You can autosave and reuse an entire email campaign configuration. When you create a new campaign, the system saves all essential settings, including the template, message content, subject line, and the criteria used for selecting recipient columns, provided you have assigned a unique name for the email campaign. To reuse this saved configuration, you simply select the existing Email Campaign Name from the list. This action instantly loads all the previous details. This functionality promotes consistency across communications and significantly reduces the manual effort involved in setting up subsequent, similar email sends.
To reuse an email campaign, do the following:
Was this helpful?