Inviting users to join workspace or sharing workspace
To join a workspace, users are required to create an account. Without an account, access to the workspace is not possible.
-
On the Home page, from the left navigation panel, click Workspace. The Workspace page, which lists all the workspaces is displayed.
-
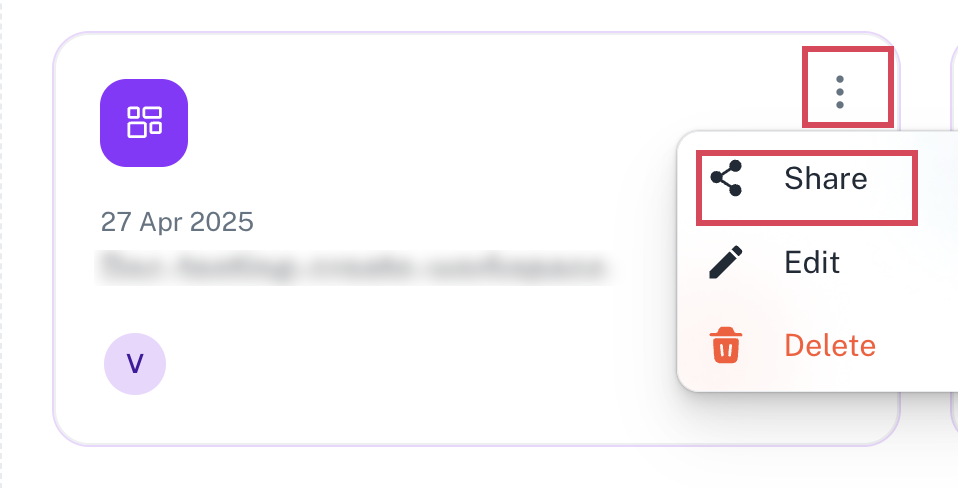
Click the three dots on the workspace icon and select Share. The **Share Workspace box is displayed.
-
In the Add People text box, you can specify the email ID of the users whom you want to add and press ENTER.
-
Select one of the following permissions:
-
Viewer: This role grants users the ability to interact with the data by applying filters and creating personalized views. However, Viewers cannot modify the underlying content of the workbooks.
-
Editor: Has all the Viewer permissions plus the Editor can modify workbooks that are not directly connected to a dynamic data source.
-
Creator: This role encompasses all Editor capabilities and provides administrative control over the workspace. Creators can manage settings, enable delete protection, configure workbook permissions, and control sharing options.
-
-
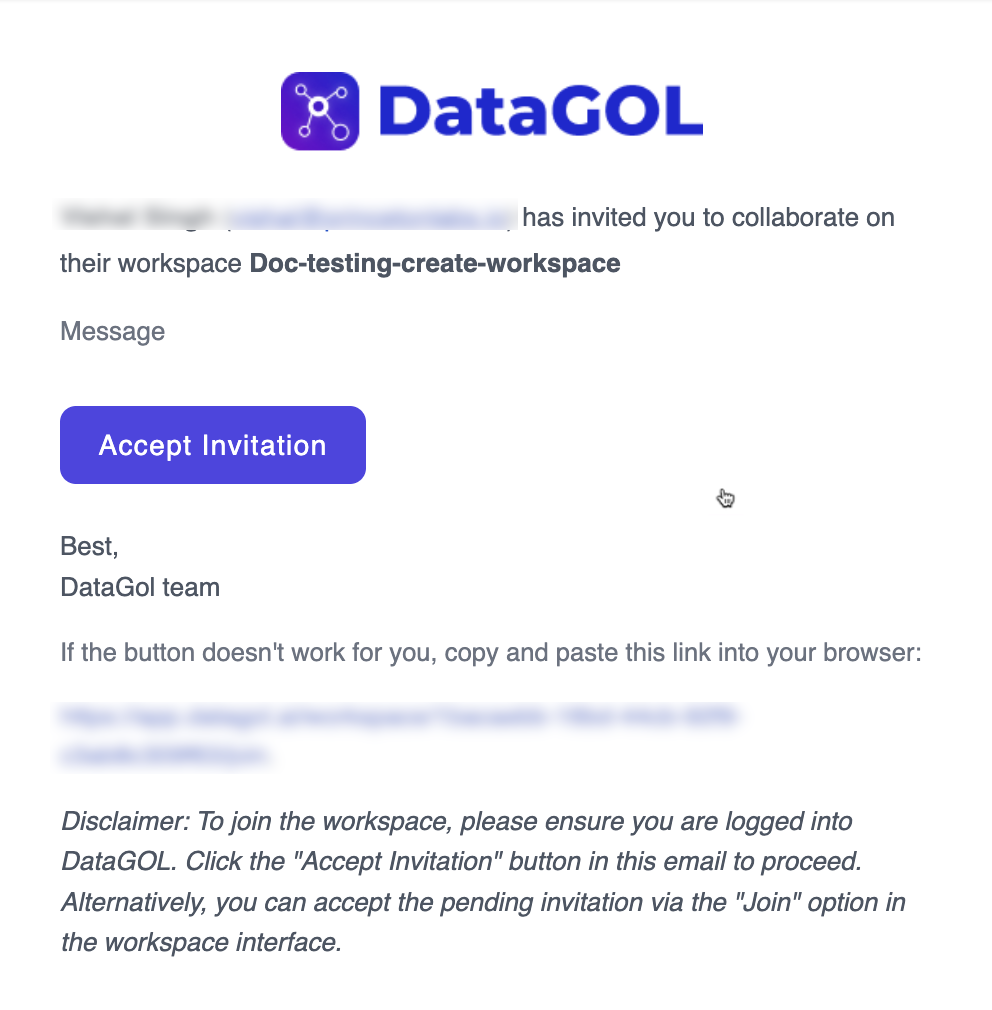
Optionally, you can add a message for the user and click Add. An invite to access the workspace with the selected permissions is sent to the specified email ID.
-
Click Accept Invitation in the email invite to join the workspace.
Was this helpful?